The 10 Best Slide Scanners

This wiki has been updated 41 times since it was first published in March of 2015. Do you have boxes of slides in the attic that you never look at because, well, who has a slide projector these days? Turn this old media into a more easily viewable and shareable format with one of these scanners. Many models convert not only slides, but also negatives and films, into digital images that can be uploaded to the web, printed out, or displayed on a TV or in a digital photo frame. When users buy our independently chosen editorial recommendations, we may earn commissions to help fund the Wiki.
Editor's Notes
November 11, 2020:
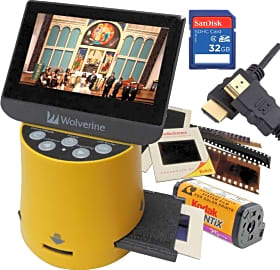
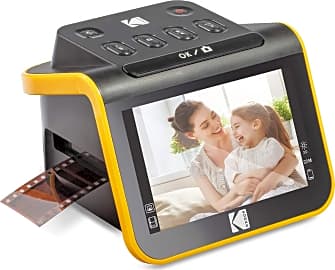
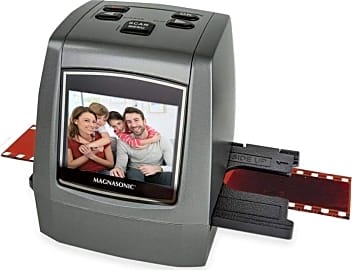
We upgraded the Wolverine F2D to the Wolverine Titan 8-in-1, which offers some improvements on the prior model. A couple of the more compact mid-range models we'd included have become unavailable since last year, and we opted for some comparable, or even superior models to replace them, including the Magnasonic All-in-One and the Kodak Slide N Scan.
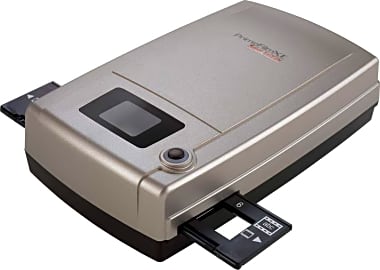
A new addition to our list is the Pacific Image PrimeFilm XEs, which, while it only accommodates 35mm negatives and mounted slides, offers a professional scan quality only represented by two or three of our selections from last year, and with a very reasonable price tag for professional grade technology.
August 09, 2019:
The Plustek OpticFilm 8200i is a pretty exciting model that we added in our last update and has a bevy of advanced features that family archivists and film enthusiasts will find useful. It also scans at such a high resolution that outputted files can be printed as large as 3 x 2 feet without a perceptible loss in quality.
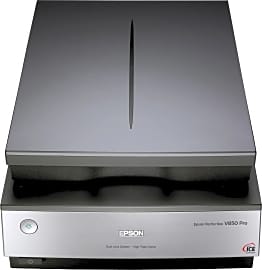
Even so, the Canon CanoScan 9000F MKII and Epson Perfection V850 held on to the one and two spots, respectively. Though about double the Plustek's price, they are in a league of their own in terms of dynamic range and detail. However, keep in mind that these are fully-fledged flatbed scanners that have far more functionality than a dedicated slide scanner, which factors heavily into the high price.
Special Honors
Epson Expression 12000XL Between its generous 12.2" x 17.2" flatbed, which accommodates virtually every size of film still in modern use, and Epson's professional-grade technology, this scanner is a real workhorse that does a bang-up job on the details. For the serious analog nerd with a considerable budget, it's hard to argue with the Epson Expression. bhphotovideo.com
The Benefits Of A Slide Scanner
A slide scanner connects directly to your computer, and after some software installation, allows you to scan your slides and upload them to your laptop or desktop.
The 21st century is a unique turning point for photographers and people who love capturing every moment on a camera. Several generations of photo lovers currently co-exist. The older generation used physical film to record their images, which were later viewed via projectors. The new generation, often referred to as millennials, have never held a slide in their life, let alone seen a projector. For them, everything is handled digitally. A slide scanner allows these dramatically different ways of approaching photo viewing to come together, by turning slides into digital images, as if they were taken on a smartphone.
A slide scanner connects directly to your computer, and after some software installation, allows you to scan your slides and upload them to your laptop or desktop. The files will then automatically save in a folder, similar to the way your media saves when you hook your smartphone up to your computer through a USB cord.
Once your slides have been converted, you can do all of the things to your old slides that you can do to any digital file on a computer. If there are issues like red eye or blurry eye in the original image, it can be easily fixed. If you want to crop a person out of the image, but still save a version where everybody appears, that can also be accomplished. You can also apply color filters to your images, making them black and white or brightening certain details.
You also have a guaranteed backup of your pictures, should you lose the physical slides. Having digital copies of images is the best way to preserve the image quality. The clarity and color of slides degrades over time, but digital files don’t. Holding onto slides is a big responsibility as well. If anything happens to them, that image could be lost forever, but it is easy to make and save multiple copies of digital files on different devices. One final and major benefit of using a scanner to convert your files is that you no longer need a projector to view your photos. Projectors are hard to find today and they’re becoming rarer every day as manufacturing of the technology has been discontinued. Depending on one to review precious memories is not sustainable.
Features To Consider
If you’re serious about preserving your photos, look for a flatbed scanner. The alternative would be a sheet-fed scanner, but these run you the risk of causing damage to your photos as you insert them into the device. If your hope is to remove damages that have already occurred, consider a model with dust and scratch removing capabilities — these can be effective in removing marks from your photos.
If you do like to create photo albums, another thing to look at is the maximum scan area of your model.
A few models include printing, faxing and copying functions, which are features dedicated scrapbookers will appreciate. If you do like to create photo albums, another thing to look at is the maximum scan area of your model. A larger scan area ensures you aren’t limited in the size or number of images you can scan at one time. Some models can scan film negatives, in addition to slides, meaning you can digitize photos that were never even developed.
If you need to share images with family, friends or colleagues, and you scan a high volume of slides per day, look for a model that automatically uploads your files to cloud-based storage services where others can easily access them. Another feature that’s helpful for high-volume scanning is a film holder — this is a place on your scanner where you can store slides and film while you’re scanning something else.
Tips For Successful Scanning
If you want the best image quality possible, you’ll need to be patient. Trying to scan several photos at one time will typically result in different shadows, highlights, and mid tones on each photo. You can check the light and dark measurements in your photos using the histogram on the preview screen of your scanner. Trying to place your photo in the center of the scanner and straighten it can result in a loss of resolution. Instead, set the slide straight against the edges of the flatbed. Cleaning the glass regularly is another basic tip that applies to all kinds of scanners. Dust in your flatbed will appear in your images, and sometimes permanently damage the original photo.
When first archiving your file, save it as a TIFF or PNG – these are the best for preserving the integrity of the image. When it’s time to send your files, you can duplicate them and save new versions as JPGs to make emailing easier. If you want to make adjustments in Photoshop or another image editing software, make those in your scanner driver instead. Using a photo editing software to fix your images can destroy it fi you are working with the original file. Instead, use the automatic detection and correction features in your scanner and set it up to make the adjustments you want before putting in the slide.
Keep a log to record what images have already been digitized, so you don’t waste hours re-scanning photos you’ve already scanned. Another tip is to scan everything and trash the unwanted files later, rather than waste time debating what to scan.


